
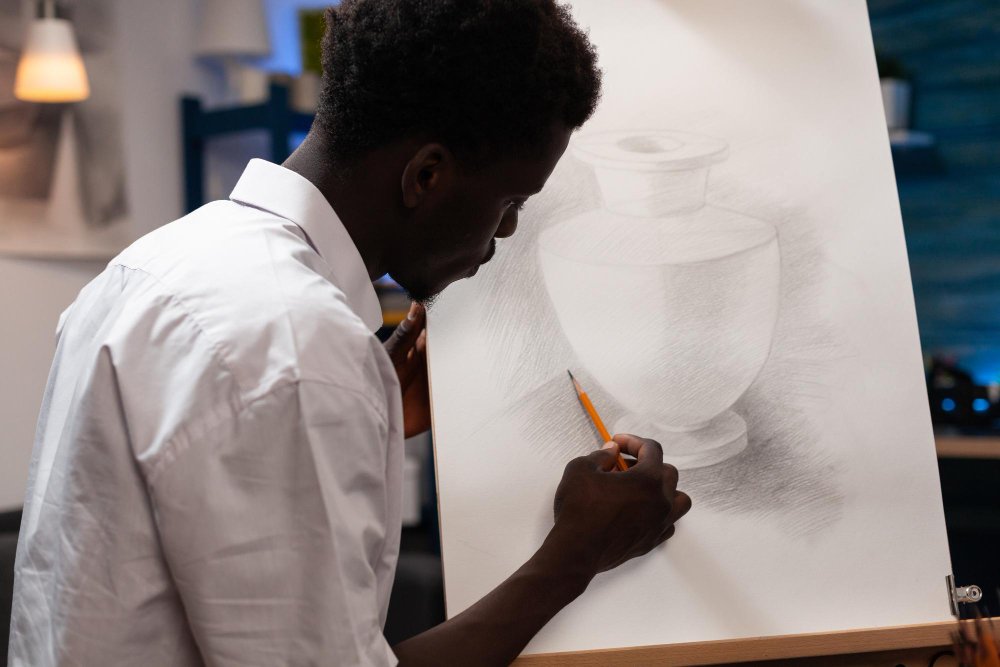
Improving your sketching skills does not require you to be naturally talented or spend years in an art school. With the right exercises, regular practice and a clear plan, you can make noticeable progress in just 30 days.
The key is not to spend hours drawing without knowing what you are trying to improve. Instead, each day should focus on a specific skill, such as line control, proportions, shading, perspective or observation. By the end of the month, you should have better control of your pencil, a stronger understanding of shapes and more confidence in your ability to sketch.
Can You Really Improve Your Sketching Skills in 30 Days?
Yes, you can improve your sketching skills significantly in 30 days, especially if you are a beginner. However, 30 days will not turn someone with little experience into a professional artist, and it is important to have realistic expectations.
What you can achieve is a stronger foundation and better control of the basic skills required for sketching. You may notice improvements in your lines, proportions, observation, shading and ability to represent objects on paper.
The quality of your practice also matters. Drawing randomly for an hour every few days is usually less useful than spending 20 to 45 minutes each day working deliberately on a particular skill.
What You Need Before Starting Your 30 Day Sketching Practice
You do not need expensive equipment to begin. A simple sketchbook, a few pencils, an eraser and a sharpener are enough to start improving your sketching skills.
If you have them available, you can use pencils with different grades, such as HB, 2B, 4B and 6B, because they allow you to create different levels of darkness. You can also use photographs, everyday objects or real-life subjects as references for your practice.
Most importantly, choose a consistent time for your practice. Having a fixed period each day makes it easier to build the habit and prevents your 30 day challenge from becoming something you keep postponing.
Your 30 Day Plan to Improve Sketching Skills
The following 30 day plan gradually moves from basic pencil control to complete sketches. Try to spend at least 20 to 45 minutes practising each day, and avoid rushing through the exercises simply to complete the challenge.
Days 1 to 5: Master Your Lines and Basic Shapes
During the first five days, focus on controlling your pencil rather than trying to create beautiful drawings. Draw straight lines, curved lines, circles, ellipses, squares, rectangles and triangles repeatedly.
Practise drawing lines from different directions without using a ruler. Try to keep your lines steady and experiment with light and heavy pencil pressure.
Once you are comfortable with individual shapes, combine them to create simple objects. A cup can be built from ellipses and cylinders, while a book can be reduced to rectangles and straight lines.
The goal during these first five days is to make your hand more comfortable with the pencil. Strong control of simple lines and shapes will make more complicated drawings easier later.
Days 6 to 10: Improve Observation and Proportions
Many beginners struggle with sketching because they draw what they think an object looks like instead of carefully observing what is actually in front of them. The next five days should therefore focus heavily on observation.
Choose simple objects around you, such as a bottle, shoe, spoon, phone or chair. Before drawing, look carefully at the object’s height, width, angles, curves and relationship between its different parts.
Practise comparing measurements instead of guessing them. For example, you can estimate how many times the width of a bottle fits into its height before putting the proportions on paper.
You should also practise negative space, which means paying attention to the empty areas around and between objects. This can help you identify incorrect proportions and angles that you might otherwise overlook.
Days 11 to 15: Learn Light, Shadow and Shading
Once you have improved your basic lines and proportions, spend the next five days learning how light affects objects. Place a simple object under a lamp or near a window and observe which areas are bright and which areas are dark.
Start by creating a basic scale from very light grey to deep black. Practise producing these different values using changes in pencil pressure and different pencil grades.
You can then practise hatching, cross hatching and controlled shading. Try to make your marks follow the form of the object instead of placing them randomly across the page.
Pay close attention to the direction of the light source. Understanding where the light comes from will help you create shadows that make your sketches look more three dimensional.
Days 16 to 20: Practise Perspective and Form
Perspective helps you make objects appear as though they occupy real space. Without a basic understanding of perspective, buildings, furniture, rooms and other objects can look flat or distorted.
Start with simple boxes and practise drawing them from different angles. Then move on to cylinders, cones and other three dimensional forms.
Spend some time learning one point perspective and two point perspective. You do not need to master advanced perspective in five days, but understanding the basic principles will improve the way you draw objects and environments.
Try applying what you learn to simple scenes. You could sketch a hallway, a street, a bedroom or a row of buildings while paying attention to how objects become smaller as they move into the distance.
Days 21 to 25: Start Drawing More Complex Subjects
You can now begin working with more complicated subjects. Instead of attempting to draw every detail immediately, break each subject into basic shapes and forms.
For example, when drawing a face, start with the overall shape of the head before adding the eyes, nose and mouth. When drawing a hand, think about the palm and fingers as simplified forms rather than trying to reproduce every detail at once.
You can also practise clothing folds, plants, animals and everyday objects. Choose subjects that are slightly outside your comfort zone because working only on things you already understand will limit your progress.
Do not worry if these drawings look rough at first. The purpose of this stage is to teach your eyes and hands how to handle more complicated forms while using the skills you developed during the earlier days.
Days 26 to 29: Draw Complete Sketches
During the final four practice days, combine the different skills you have learned. Choose a reference and create a complete sketch from beginning to end.
Start with the basic structure and proportions before adding details. Once the structure is accurate, gradually introduce line work, shading, texture and other details.
Give yourself a time limit for some of these drawings. Timed sketches can teach you to focus on the most important features instead of spending too much time perfecting small details.
When you finish each sketch, study it carefully. Instead of simply deciding that it looks good or bad, identify exactly what worked and what needs more practice.
Day 30: Redraw Your First Sketch
For the final day, return to the subject you drew on Day 1 and draw it again. Use the same or a similar reference if possible so that you can make a more meaningful comparison.
Place both drawings beside each other and look at the differences. Pay attention to your lines, proportions, shapes, shading, level of detail and overall confidence.
You may be surprised by how different the two drawings look after only one month of focused practice. Even if the improvement is not dramatic in every area, the comparison will show you which skills have developed and which ones need more attention.
The Best Daily Sketching Exercises for Faster Improvement
One of the easiest ways to improve your sketching skills is to use exercises that target specific abilities. Instead of drawing the same type of picture every day, spend part of your practice time deliberately working on your weaknesses.
Line control exercises are useful for improving steadiness and pencil control. Fill a page with straight lines, curves, spirals and circles while trying to maintain consistent pressure and direction.
Contour drawing can improve observation skills. Choose an object and slowly trace its edges with your eyes while drawing what you see, paying attention to changes in shape and direction.
Gesture drawing is useful when practising people and animals. Give yourself a short amount of time to capture the overall movement and posture of a subject rather than focusing on small details.
Value exercises help you understand light and shadow. Create different shades from light to dark, then use those values to shade basic forms such as spheres, cubes and cylinders.
Drawing from observation should also become a regular part of your practice. Choose real objects around you and draw them instead of relying only on images from memory.
Common Mistakes That Stop Your Sketching Skills From Improving
One common mistake is drawing only when you feel inspired. Improvement comes from consistency, so waiting until you are in the mood to draw can make it difficult to develop a reliable practice habit.
Another mistake is focusing too much on finished drawings. A sketchbook is supposed to contain experiments, mistakes and rough studies, so do not feel that every page needs to look impressive.
Many beginners also spend too much time on details before getting the basic proportions right. If the structure is wrong, adding more eyelashes, hair strands, textures or shadows will not fix the underlying problem.
Drawing only from memory can also slow your progress. Observation teaches you to notice details that your brain may automatically simplify, so regularly drawing from real objects and quality references is important.
Comparing yourself constantly with professional artists is another unhelpful habit. Instead, compare your current work with your previous work because the most useful measure of progress is whether your own skills are improving over time.
How to Track Your Sketching Progress
Keep your drawings in one sketchbook and date your practice sessions. This gives you a visual record of your progress and makes it easier to identify changes that may not be obvious from day to day.
You can also take photographs of your sketches at the end of each week. Compare your first week with your second, third and fourth weeks and look specifically for improvements in areas such as proportions, line quality, shading and observation.
Another useful method is to redraw the same subject regularly. When you draw the same object several times over a period of weeks, you can see whether your ability to understand its shape and structure is improving.
Do not focus only on what looks wrong. Write down what you have improved as well as the areas that still need work, because recognising progress can help you stay motivated.
What to Do After the 30 Days
The end of the 30 day challenge should not be the end of your sketching practice. Once you review your drawings, identify the areas where you still struggle and build your next practice routine around them.
For example, if your proportions have improved but your shading remains weak, spend the next few weeks focusing more heavily on light, values and shadows. If you are comfortable drawing objects but struggle with people, dedicate more time to gesture drawing, anatomy and facial features.
You should also gradually increase the difficulty of your subjects. Move from simple objects to more complex compositions, different viewpoints and subjects that require you to combine several skills at once.
Most importantly, keep drawing regularly. Even a short daily session can help you maintain the skills you have developed and continue making progress.
Conclusion
You can improve your sketching skills in 30 days if you approach the process with consistency and purpose. The goal is not to become a professional artist in one month, but to develop better pencil control, observation, proportions, shading, perspective and confidence.
Start with simple exercises, build your skills gradually and pay attention to your mistakes. By drawing regularly and comparing your work over time, you will have a much clearer picture of your progress and a stronger foundation for becoming a better artist.